If you are serious about investing in cryptocurrencies, you should own a hardware wallet. A Trezor Model One is a cheap option that supports many coins.
In this guide, I'll show you how to set up the Trezor Model One.
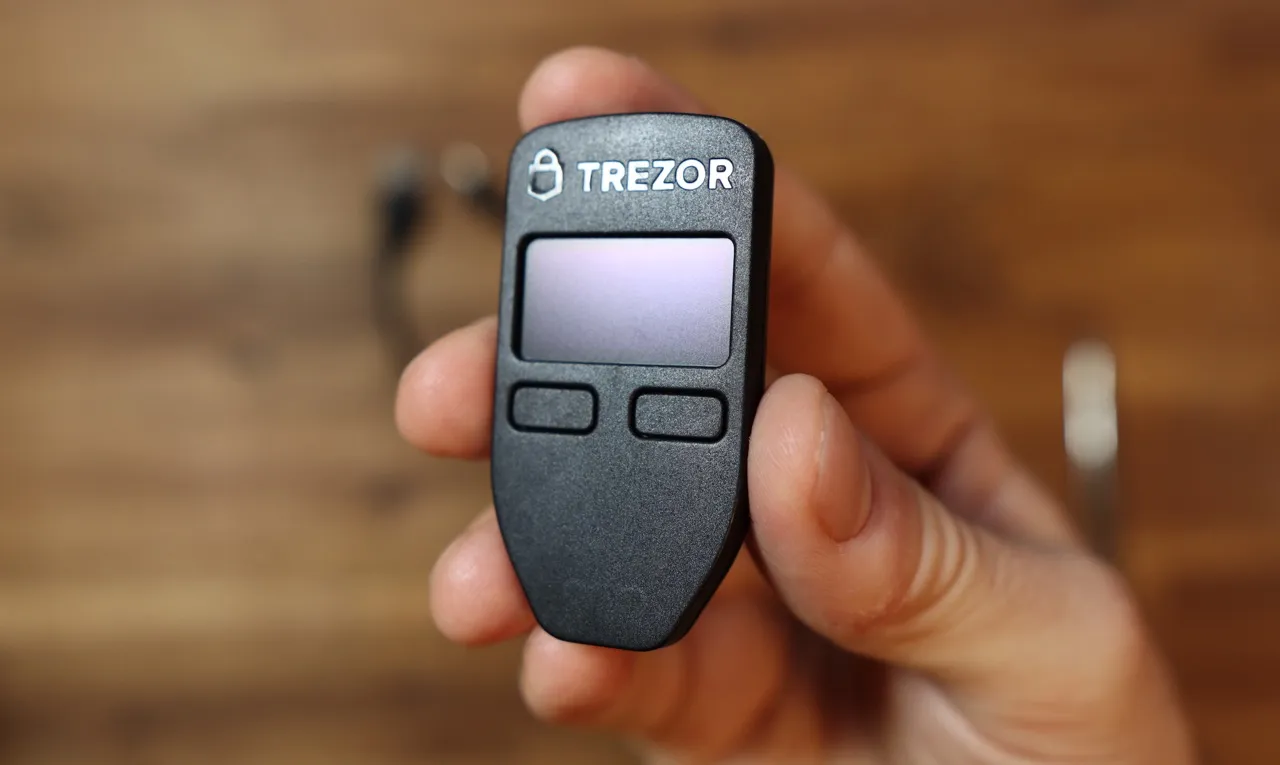
Before setup
Before setting up, you should briefly check the following things. There is nothing more annoying than getting a compromised hardware wallet with your precious crypto assets and then having to watch them get stolen.
- Only buy original devices in the official shop.
- Do not use used devices
- Check the packaging thoroughly
You should only buy original devices from the company Satoshi Labs. I would avoid buying new from a third-party shop, including Amazon. You should never use used devices. These could be manipulated so that a hacker can easily get your coins.
Check out my Trezor Model One Review
Check packaging
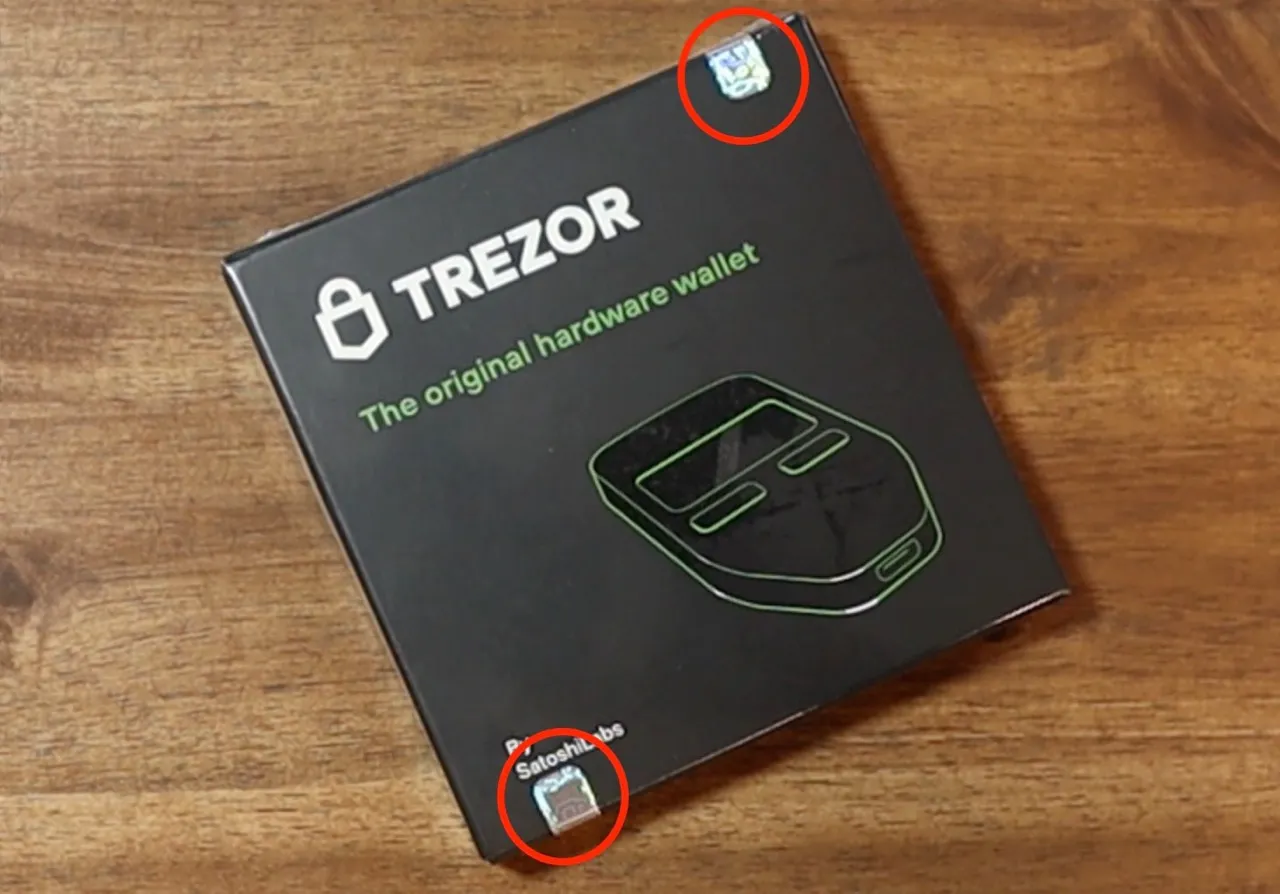
Check the shrink-wrapped packaging carefully to ensure it is undistorted. An important security feature is the security glue on the top and bottom of the packaging. If these are damaged, you should send the device back or contact the manufacturer.
Set up Trezor Model One
In principle, you don’t need much to set up the Trezor One.
- Trezor Model One Day
- A USB cable (Micro USB) is included
- A computer (Windows, MacOS, Linux)
Download Trezor Suite
Trezor's official software is called Trezor Suite and is provided by Satoshi Labs, the company behind the Trezor hardware wallets. You need this free software to set up and use the wallet.
- Go to trezor.io/start and download the software
- Launch the software and click Setup Trezor
Update firmware
The firmware on the Trezor will now be checked and possibly updated. This only takes a few seconds.
Create a wallet with the seed phrase
Now click on “Create new wallet”, also confirm on the device and start the process of creating the seed on your hardware wallet.
The 24-word seed is used to securely store all cryptocurrencies and tokens on the device. It is a kind of master password for all wallets.
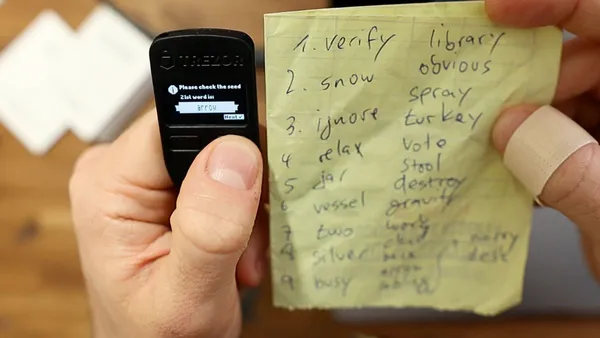
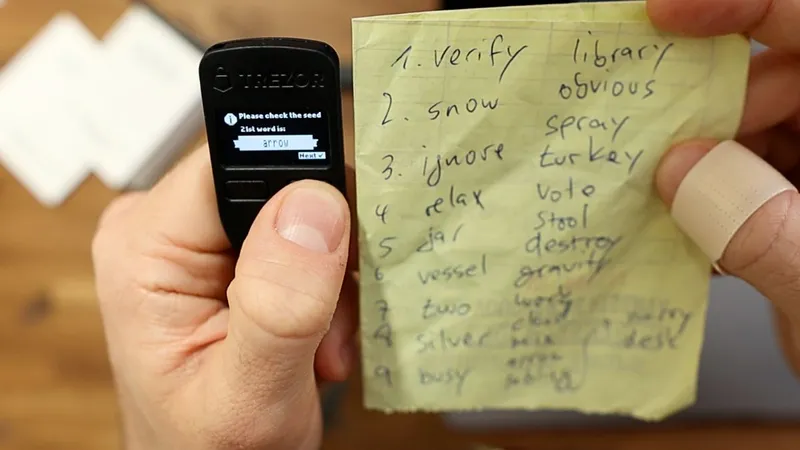
The words will appear one at a time on the Trezor. You should now write them down on a piece of paper. Trezor also provides a few useful notes in the packaging. You can use this or on another sheet of paper.
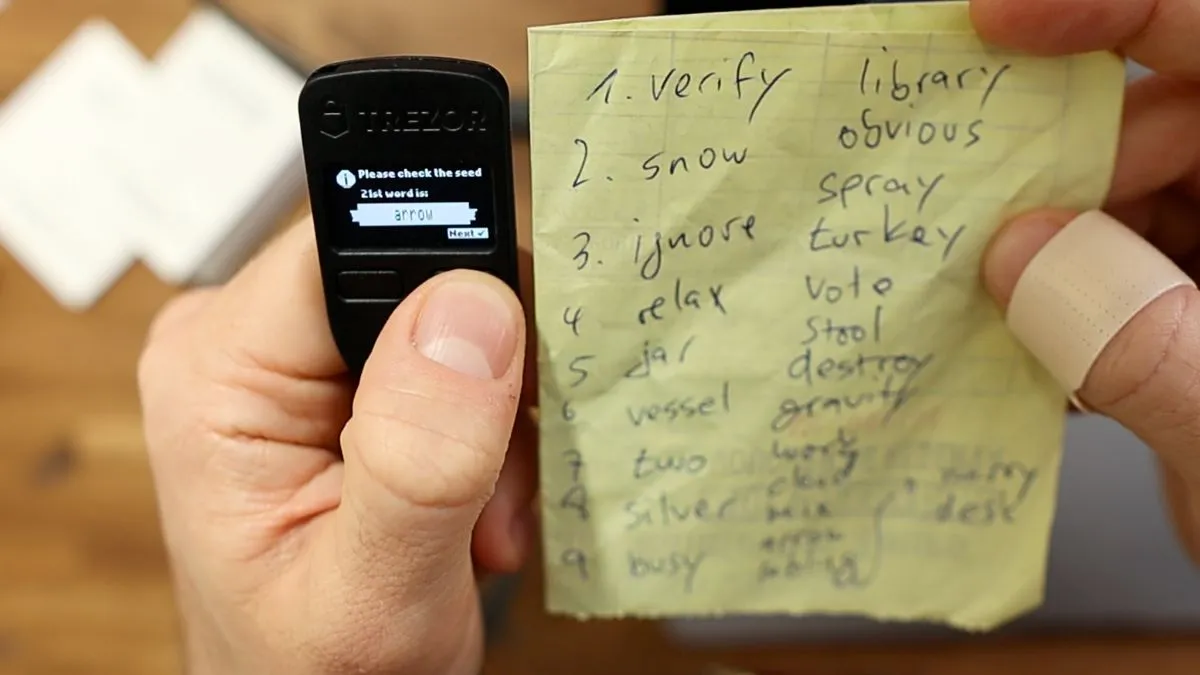
Important: You should not necessarily save the seed digitally and certainly not somewhere online (e.g. in the cloud).
Tip from me: Write down the same seed at least twice and save the backup in different places. This way you avoid the risk of losing the seed in an accident.
PIN code
In the next step, you select a four-digit PIN code that you can use to easily unlock the Trezor One. The PIN is used to quickly unlock your device and confirm transactions. Only with the PIN and the device you can access all functionalities.
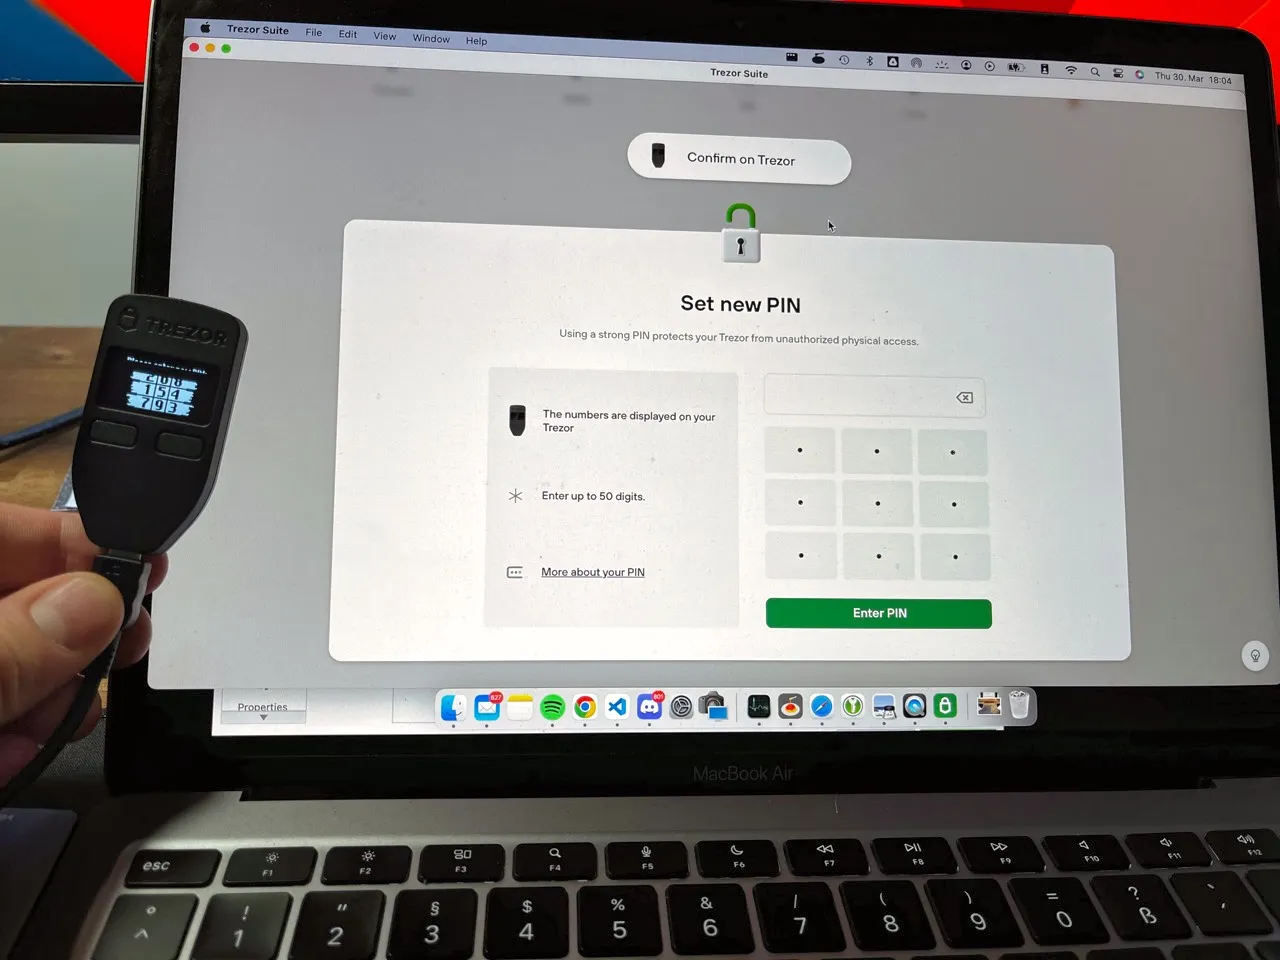
The PIN code input is randomly generated on the device every time, so accessing is not so easy to be hacked. A hardware wallet is a deliberately simple computer and cannot, for example, be easily attacked by brute force.
Difference between PIN and seed
You may be wondering what is the difference between the PIN code and the seed phrase. With the PIN code you can easily unlock the device, but only if you have the same device at the same time. With the seed phrase you can restore a complete backup of your wallet. You don't even need the same Trezor device for that.
If you lose your Trezor, you can only recover it with the seed phrase and any Trezor.
Select crypto wallets
Now you can select native crypto wallets for the Trezor Suite. You can use all of these wallets via Trezor Suite. Many third-party wallets work in conjunction with Trezor.
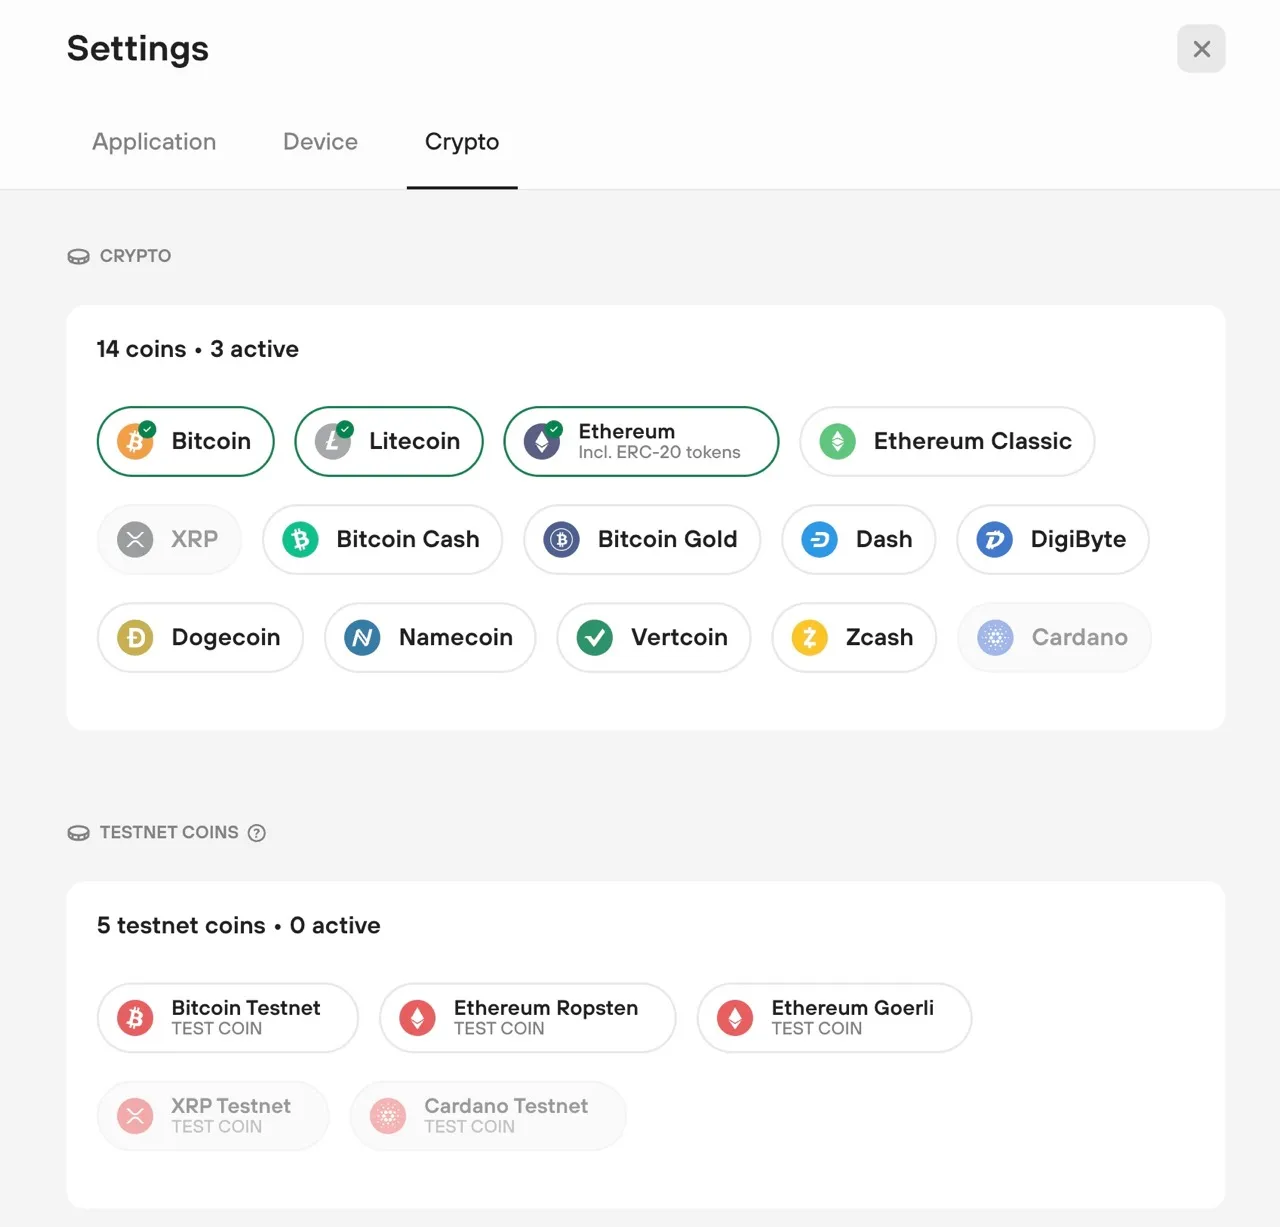 Trezor Suite native supported coins
An example of this is Exodus. You can use Exodus' very user-friendly interface and many supported coins, but have the security of Trezor when storing your private keys. You can read more about this in my Trezor Model One review.
Send and receive cryptocurrencies
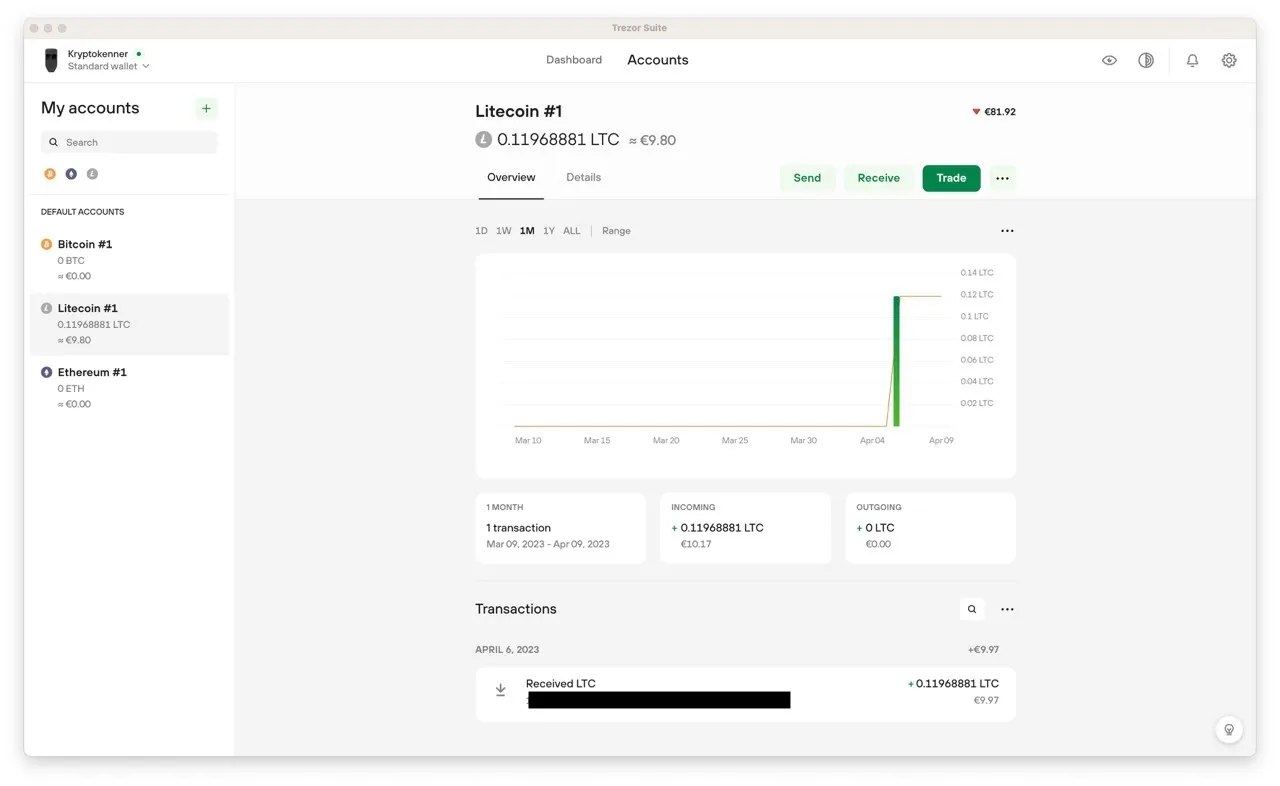
Sending and receiving cryptocurrencies and tokens via Trezor Suite is very easy. You click on the corresponding wallet and then on Send or Receive.
Now you have to enter the address and the amount and confirm the transaction through the Trezor. Double-check that the address is the same in Trezor Suite and on the device. If that's the case, you can complete the transaction.

